Bunk beds are a great solution in a shared kids’ bedroom. But if you are confused about How to build a bunk bed with stairs then this article will definitely help you out to take a decision. Before you plan for making or purchasing one it is important to assess if the bunk bed will fit within the space both vertically and horizontally. Vertically, the bunk should provide enough head room, typically 36″ from the top of the mattress to the ceiling. We typically like to have ceilings over eight feet in height, around 100″. Horizontally, fixtures such as stairs, ladders and shelves need some clearance so that the children can maneuver around and access them with ease.
There are plenty of reasons why you should consider buying bunk beds with stairs. Let’s start with the most obvious, kids love bunk beds with stairs. Simple as that! So you must wonder how to build a bunk bed with stairs. Children love to play and climb around, wherever they are, so why not provide them with something to do when they’re in their own room.
A bunk bed with stair is super fun for children especially if you are going to make it yourself. But before you plan about how to build a bunk bed with stairs, first you need to know the pros and cons of a bunk bed with stair before you hit the carpenter.
Benefits of a bunk bed with stair
• Saving space (in-store I know).
• A bunk bed is fun! Children go to bed with pleasure.
• Ideal playground! Under the bed is a private house made (think of bed tents). On the bed you can also attach a slide next to a staircase.
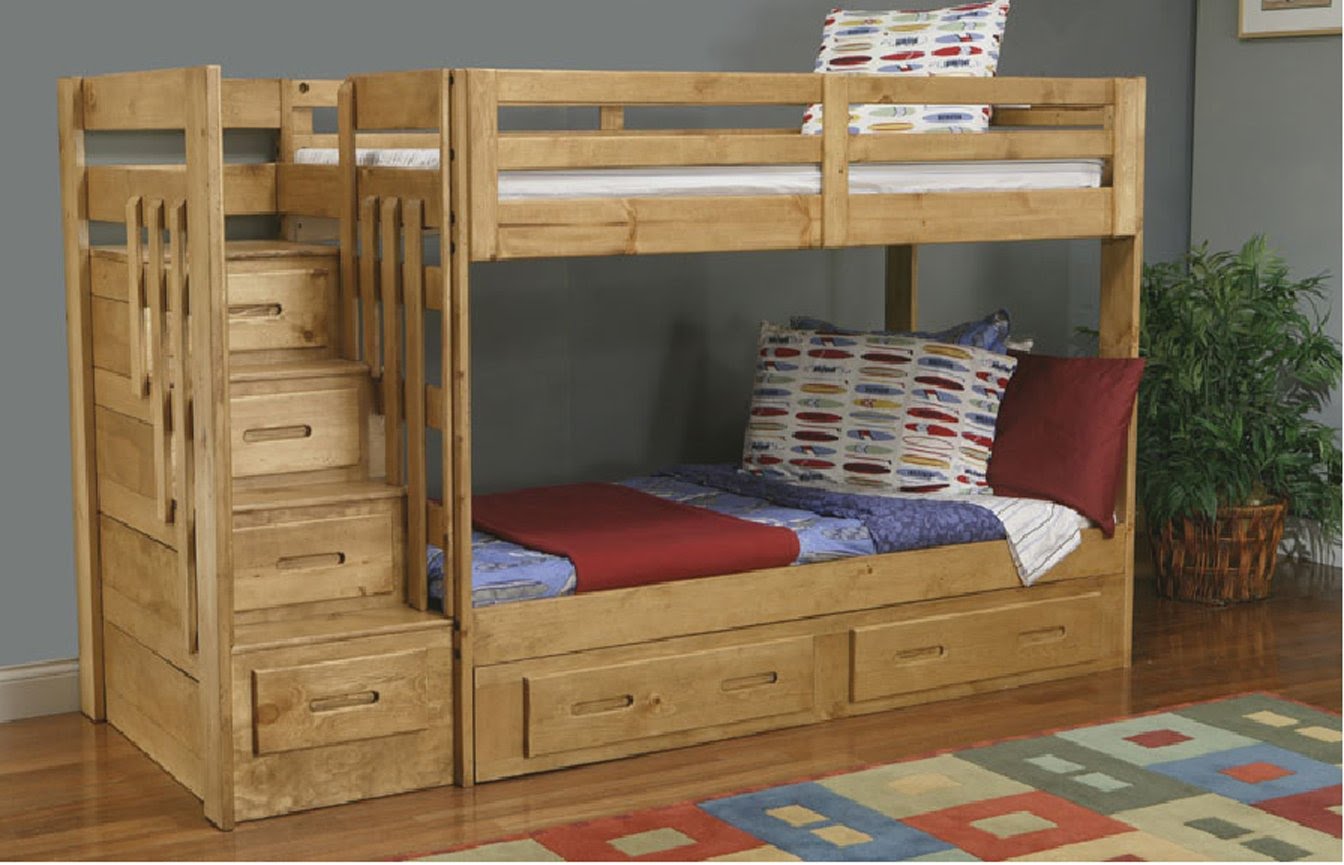
• A unique loft bed you can easily take a look at the examples below.
Disadvantages of a bunk bed with stair
• Falling out of bed suddenly becomes a lot more serious work, luckily there are rails etc. to prevent this.
• Getting out of bed in the middle of the night for a puddle becomes a climb in the dark
• To read, you have to climb on your own bed or find another place together.
If you have bunk beds for your children, having a staircase leading to the top bunk bed is a lot safer than using a ladder. Stairs are easier to navigate and much less risk of falling down the stairs than of a ladder. It’s a job that you can undertake yourselfbut if you think you know everything about how to build a bunk bed with stairs then there more to know. Let’s find out the steps of building.
1. Measurements
The stairs go into the bunk bed, rise from the floor to the top bed Before the measurement start by measuring diagonally from the top of the handrail on the wall of the upper bed to the bottom of the foot on the lower bunk bed.
Now take the two pieces of wood that are 2 inches by 16 inches by 8 feet in size Put on one top of the other so that they match exactly from one corner, measure 3 inches each way along each side and draw the triangle of the create points from the point that you marked on the short side, measuring the distance you previously measured on the bunk beds. Mark the spot with a pencil now repeat the process, measuring from the 3 inch point on the long side of the wood Join the two new brands together, extending the line across the shelf.
2. Cutting
Using your saw, first cut the triangle on both pieces of wood then cut across on the other side, where you measured. These two pieces will be the sides of your stairs. Turn them so that they mirror each other.
3. Steps
Taking the triangle as a base, measuring 12 inches on each side, once from the front of the triangle and once from the back using a straight edge, draw a line across the plank joining the mark. From there, measuring 14 inches off the line and mark and create another line. Repeat this until you get close to the top now do this on the other shelf. These are where the stairs will fit for your bunk beds.
To fit up the stairs, hold the bottom edge of each step piece against the screw brand from the outside of the stairs side, using your level to ensure the stair piece straight up. Repeat on the other stair side until the stairs are secured. Use 4 screws on each side of each step.
4. Confirmation of the Stairs
Rotate the stairs so that they stand upright and against the foot on the bunk beds. Slide in position. Drill holes through the stairs side and the bed frame and keep the stairs firmly in place. Position a piece of 2-inch by 4 inches by 30 inches of wood upright against the stairs side, so that 24 inches of wood comes over the edge. Drill and bolt in place so that the wood is straight and upright with the level.
Repeat with the other piece of wood the same size continue the side. Place the remaining piece of wood inside this, 2 feet of aside bolt in place so that the angle is equal to the stairs side. This will advance the side rail for your bunk bed.
5. Create the frame
Use wooden slats and saw them on the dimensions of the mattress. Make a frame by screwing everything together. Use the brackets to assemble the frame.
6. The finish
If necessary, you can sand the wood to remove the splinters. If desired, you can paint the loft bed with two layers of paint of your choice.
Now you only have to install the mattress. Your bunk bed with stairs is ready! Now you can be assured that you have every bit of information about how to build a bunk bed with stairs.